Firebase로 동기화되는 Database 사용하기
24 Jul 2017 | Android Java Firebasefirebase 프로젝트 추가
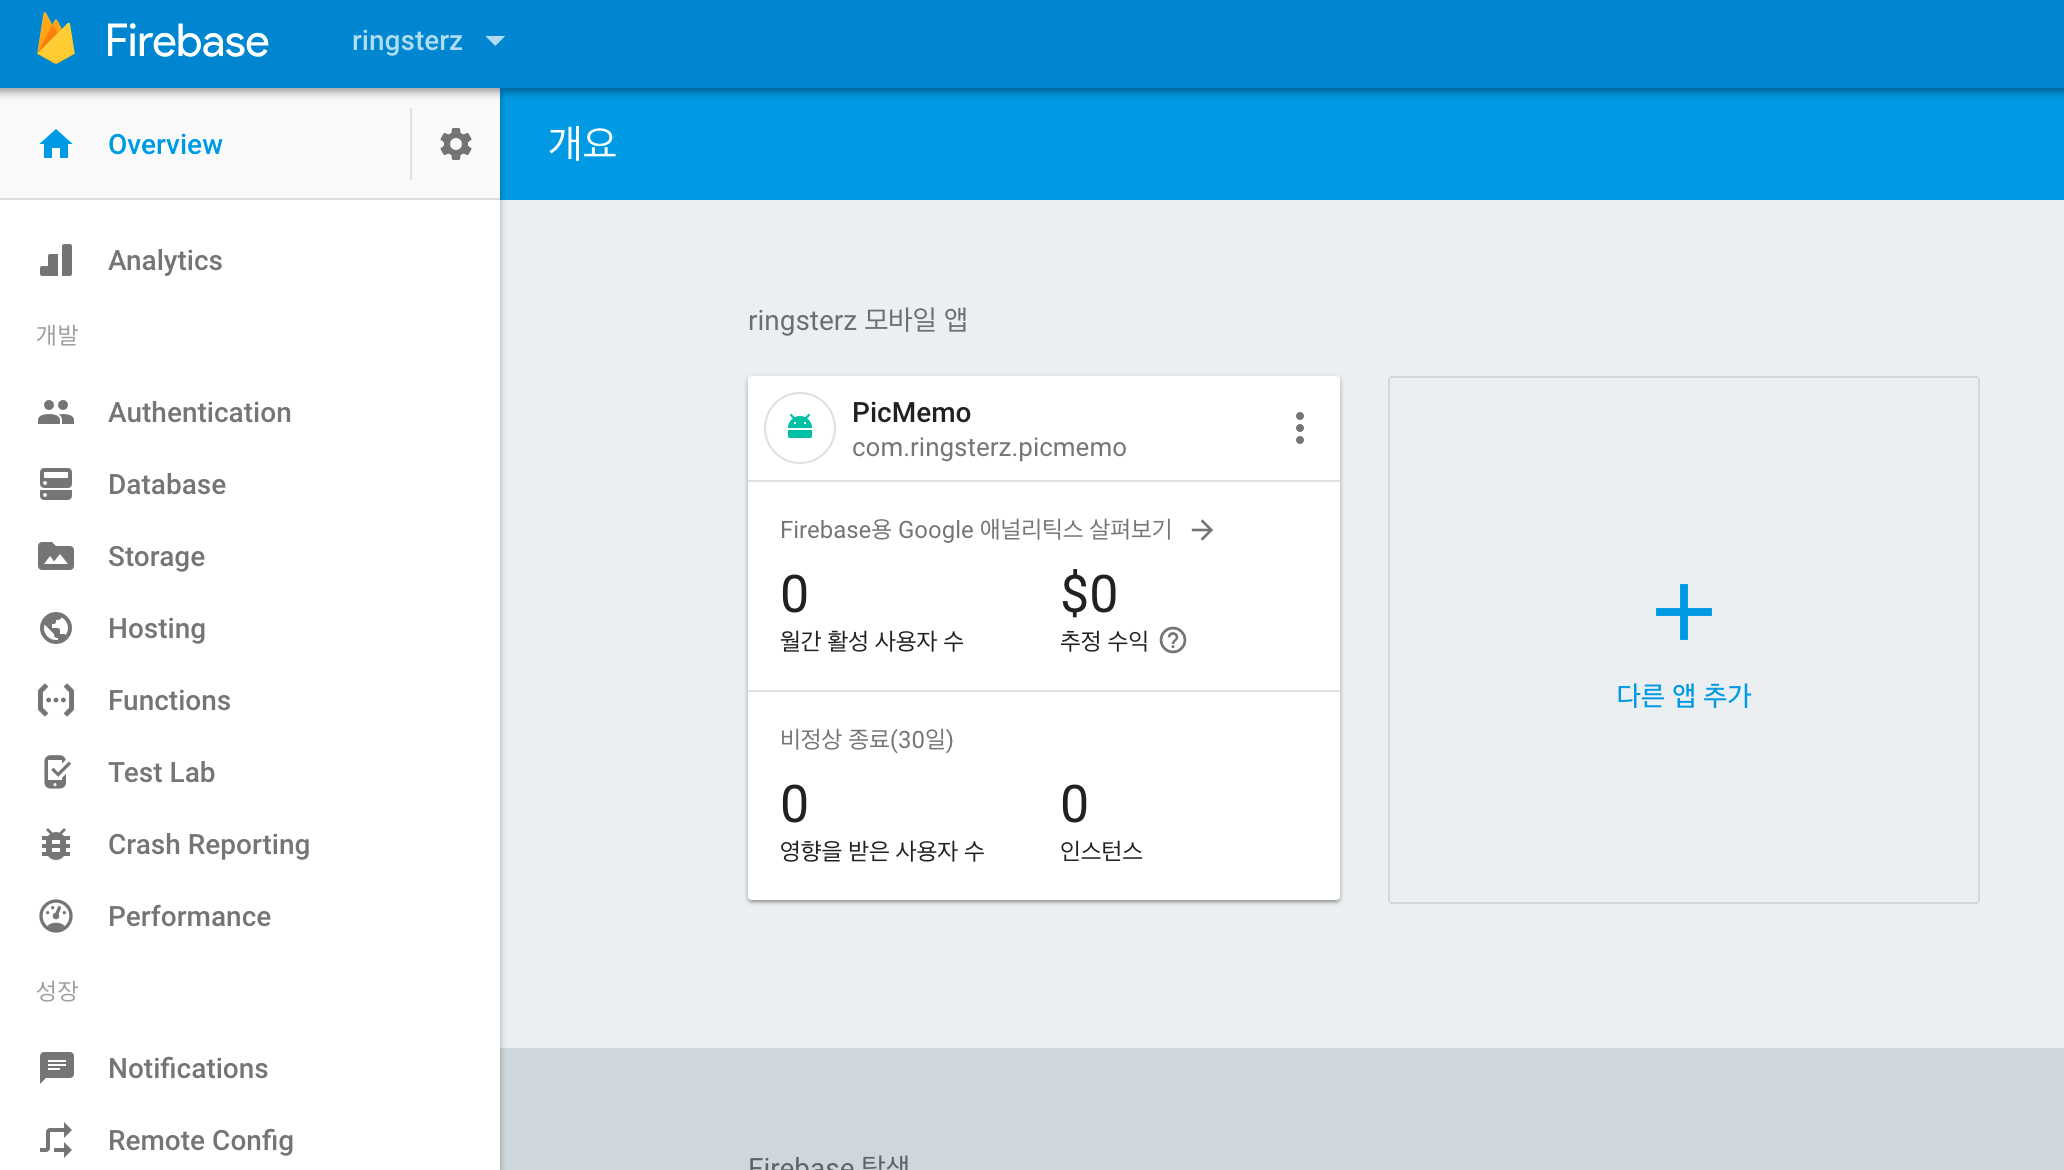
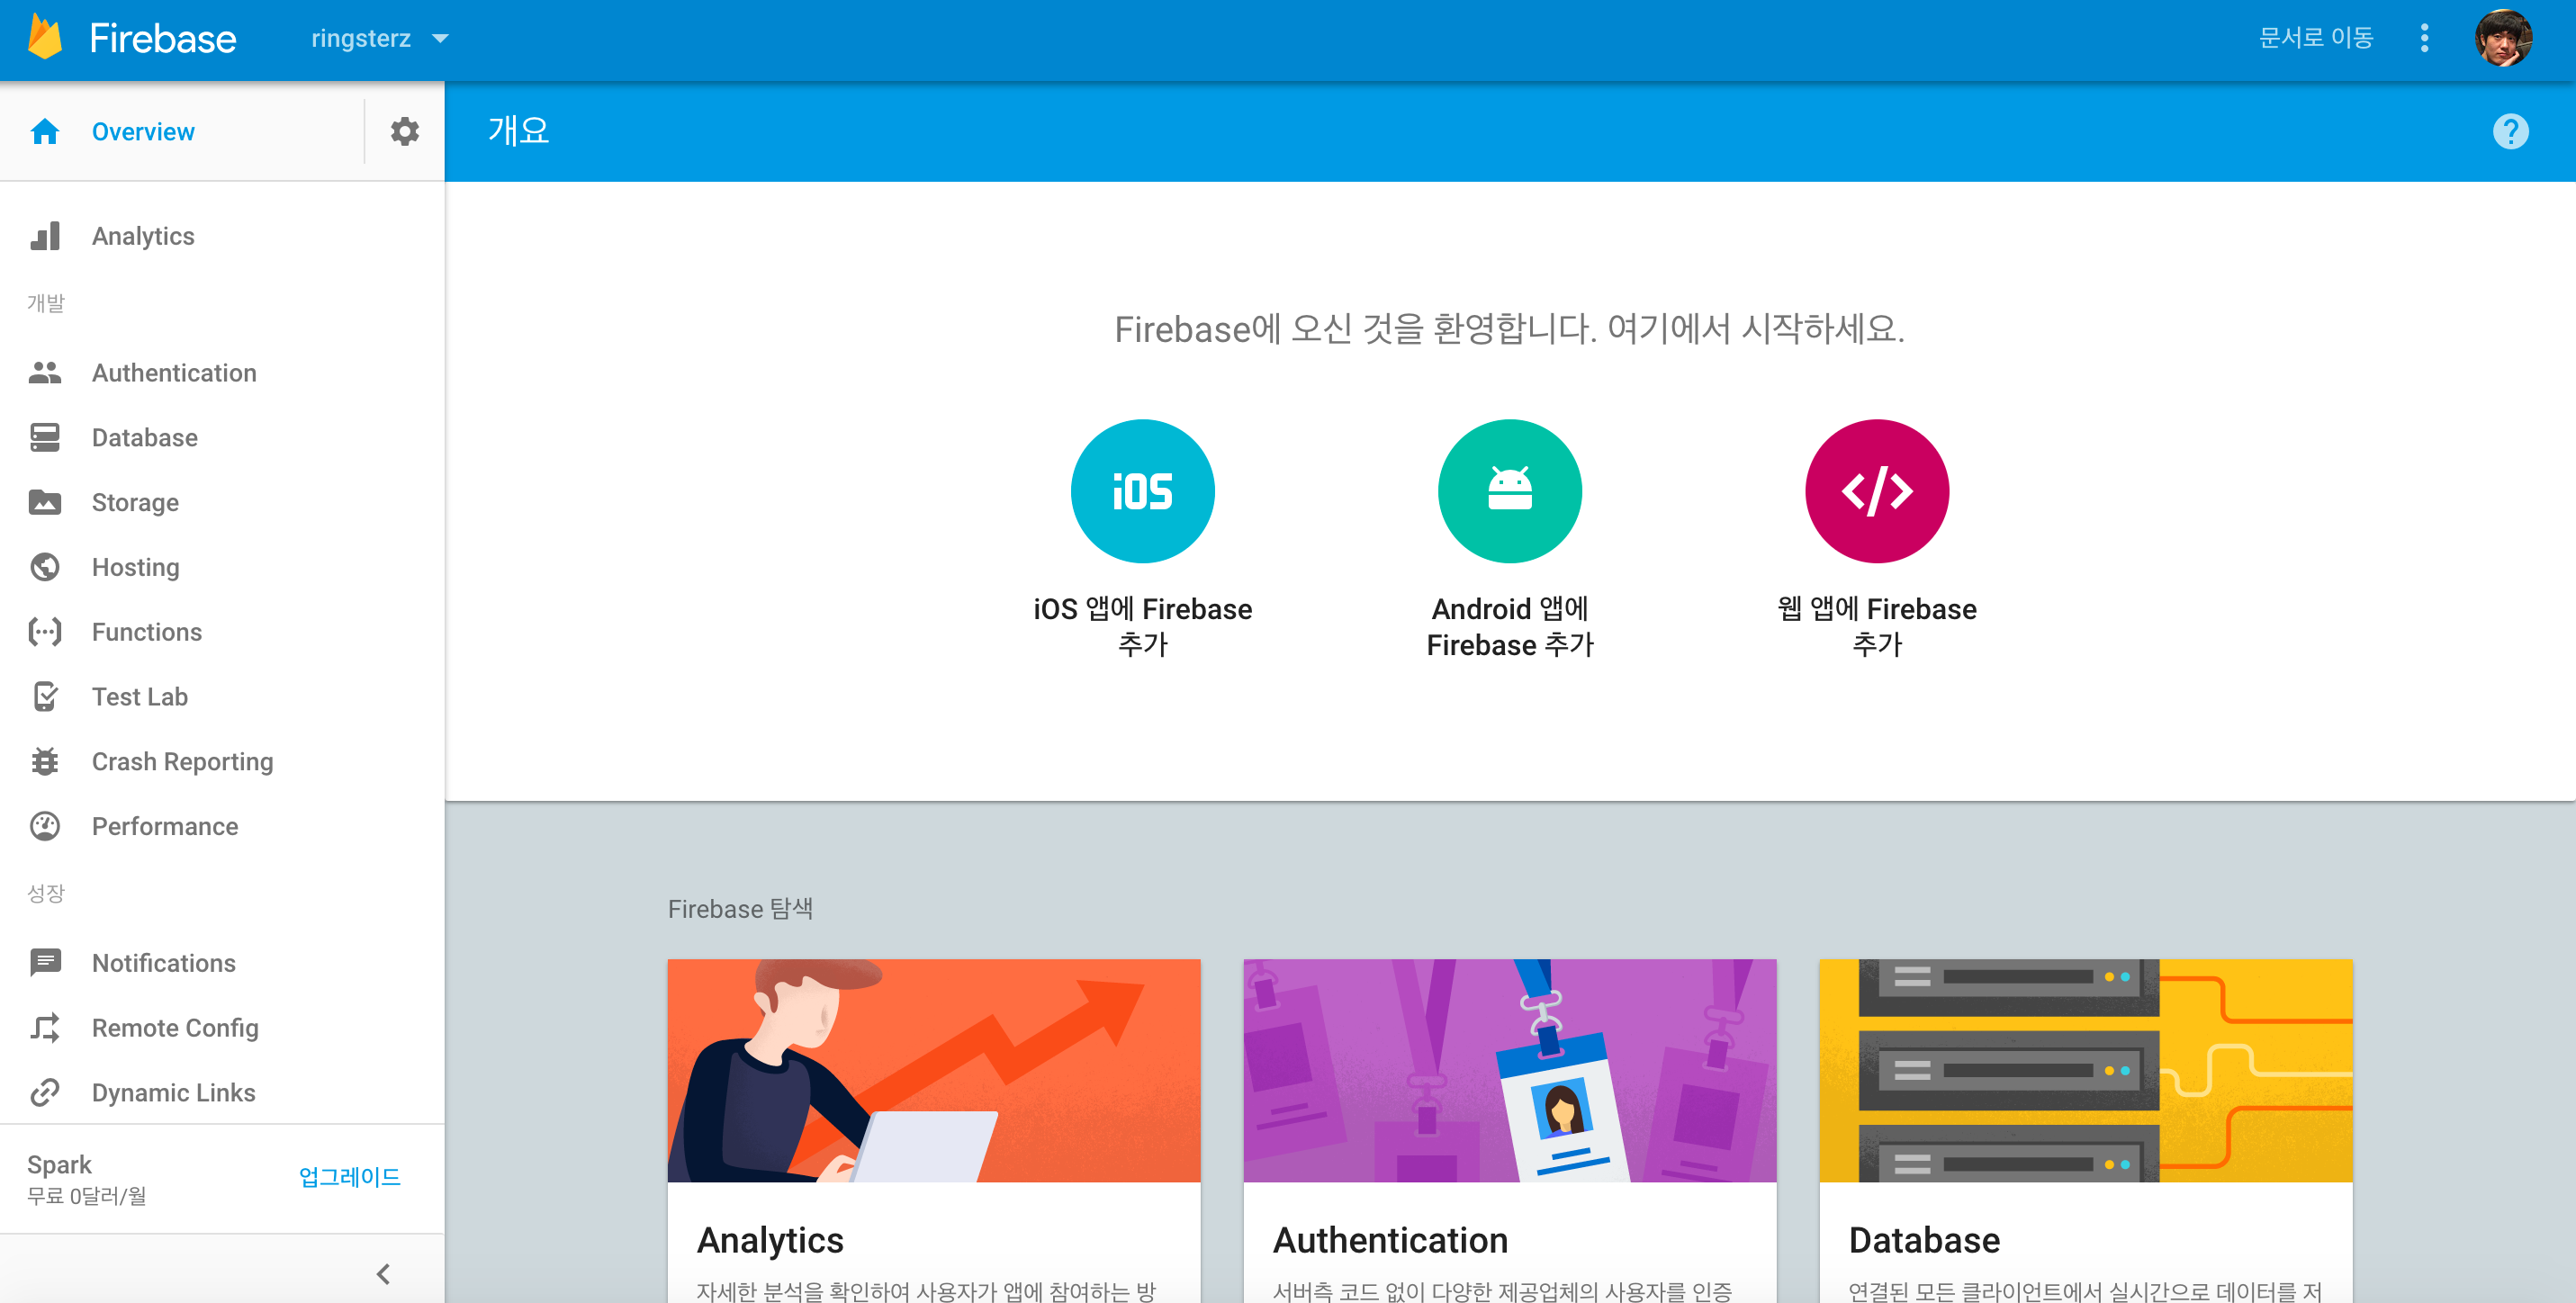
https://console.firebase.google.com에서 프로젝트 추가

firebase 안드로이드 추가

google-services.json 추가
google-services.json 파일을 app 영역의 root에 집어넣음. (project 보기)
build.gradle 변경
build.gradle(project)에 다음 추가
dependencies {
    classpath 'com.google.gms:google-services:3.1.0'
}
build.gradle(app) 마지막줄에 다음 줄 추가
apply plugin: 'com.google.gms.google-services'
build.gradle(app)의 dependency에 다음 추가 (database 및 recyclerView 이용을 위한 라이브러리)
compile 'com.google.firebase:firebase-database:11.0.2'
compile 'com.firebaseui:firebase-ui-database:0.5.3'
이후 프로젝트 sync
Model 추가
public class Notice {
    private String subject;
    private String content;

    public Notice(){

    };

    public Notice(String subject, String content) {
        this.subject = subject;
        this.content = content;
    }

    public String getSubject() {
        return subject;
    }

    public void setSubject(String subject) {
        this.subject = subject;
    }

    public String getContent() {
        return content;
    }

    public void setContent(String content) {
        this.content = content;
    }
}
RecyclerView item layout 추가
<?xml version="1.0" encoding="utf-8"?>
<LinearLayout xmlns:android="http://schemas.android.com/apk/res/android"
    android:layout_width="wrap_content"
    android:layout_height="wrap_content"
    android:orientation="horizontal">

    <TextView
        android:id="@+id/subjectTextView"
        android:layout_width="wrap_content"
        android:layout_height="wrap_content"
        android:layout_margin="@dimen/text_margin"
        android:textAppearance="?attr/textAppearanceListItem" />

    <TextView
        android:id="@+id/contentTextView"
        android:layout_width="wrap_content"
        android:layout_height="wrap_content"
        android:layout_margin="@dimen/text_margin"
        android:textAppearance="?attr/textAppearanceListItem" />
</LinearLayout>
RecyclerView layout 추가
<?xml version="1.0" encoding="utf-8"?>
<android.support.v7.widget.RecyclerView xmlns:android="http://schemas.android.com/apk/res/android"
    xmlns:app="http://schemas.android.com/apk/res-auto"
    xmlns:tools="http://schemas.android.com/tools"
    android:id="@+id/noticelist"
    android:name="com.ringsterz.picmemo.fragment.ItemFragment"
    android:layout_width="match_parent"
    android:layout_height="match_parent"
    android:layout_marginLeft="16dp"
    android:layout_marginRight="16dp"
    app:layoutManager="LinearLayoutManager"
    tools:context="com.ringsterz.picmemo.fragment.NotificationFragment"
    tools:listitem="@layout/fragment_item" />
변수 선언 및 viewHolder 정의 (프래그먼트나 엑티비티의 inner class로 추가)
private DatabaseReference mFirebaseDatabaseReference;
private FirebaseRecyclerAdapter<Notice, MessageViewHolder> mFirebaseAdapter;
private LinearLayoutManager mLayoutManager;

public static class MessageViewHolder extends RecyclerView.ViewHolder {
    TextView subjectTextView;
    TextView contentTextView;

public MessageViewHolder(View v) {
    super(v);
    subjectTextView = itemView.findViewById(R.id.subjectTextView);
    contentTextView = itemView.findViewById(R.id.contentTextView);
    }
}
RecyclerView와 adapter 설정 및 observer 설정 (Fragment)
@Override
public View onCreateView(LayoutInflater inflater, ViewGroup container,
Bundle savedInstanceState) {
View view = inflater.inflate(R.layout.fragment_item_list, container, false);

// Set the adapter
if (view instanceof RecyclerView) {
    Context context = view.getContext();
    recyclerView = (RecyclerView) view;
    mLayoutManager = new LinearLayoutManager(context);
    recyclerView.setLayoutManager(mLayoutManager);

    // New child entries
    mFirebaseDatabaseReference = FirebaseDatabase.getInstance().getReference();
    mFirebaseAdapter = new FirebaseRecyclerAdapter<Notice,
        MessageViewHolder>(
        Notice.class,
        R.layout.fragment_item,
        MessageViewHolder.class,
        mFirebaseDatabaseReference.child("notification")) {

    @Override
    protected void populateViewHolder(final MessageViewHolder viewHolder,
                                    Notice notice, int position) {
    if (notice.getSubject() != null) {
        viewHolder.subjectTextView.setText(notice.getSubject());
        viewHolder.contentTextView.setText(notice.getContent());
        }

    }
};

mFirebaseAdapter.registerAdapterDataObserver(new RecyclerView.AdapterDataObserver() {
    @Override
    public void onItemRangeInserted(int positionStart, int itemCount) {
        super.onItemRangeInserted(positionStart, itemCount);
        int noticeCount = mFirebaseAdapter.getItemCount();
        int lastVisiblePosition =
            mLayoutManager.findLastCompletelyVisibleItemPosition();
        // If the recycler view is initially being loaded or the
        // user is at the bottom of the list, scroll to the bottom
        // of the list to show the newly added message.
        if (lastVisiblePosition == -1 ||
            (positionStart >= (noticeCount - 1) &&
                lastVisiblePosition == (positionStart - 1))) {
            recyclerView.scrollToPosition(positionStart);
        }
    }
});

recyclerView.setAdapter(mFirebaseAdapter);

}

return view;
}
Rule 설정
인증하지 않고 데이터를 받으려면 Firebase console에서 아래와 같이 읽기 권한을 준다.
{
    "rules": {
        ".read": true,
        ".write": "auth != null"
    }
}
Firebase Data 형태
 위와 같이 db 밑에 child명을 주고 임의의 인스턴스 값 하위에 model에서 정의한 값을 넣어주면 된다.
동기화 결과
 DB에서 값을 바꿀 경우 바로 동기화되어 view에 반영된다.

Comments